AI Film Making: The Complete Beginner's Guide
What Is AI Film Making?
AI film making is the process of creating short films, music videos, or full-length movies using artificial intelligence instead of traditional cameras, lighting rigs, and film crews. You write a description of what you want to see, and AI models generate the visuals, dialogue, music, and sound effects for you.
This is not a gimmick or a toy. In 2026, AI video models like Kling 2.1, Sora, and Hunyuan produce footage that rivals stock video in quality. Combined with AI audio, voice synthesis, and a proper editing timeline, solo creators can produce work that used to require a team of ten and a five-figure budget.
That said, AI film making is not about replacing human creativity. The AI handles the technical production; you bring the story, the vision, and the editorial decisions. Think of it as having an infinitely patient production crew that works at the speed of thought.
What You Need to Get Started
Here is the good news: you need very little to start making AI films.
- A browser — AI film tools like Filmaris run entirely in the browser. No expensive hardware, no software installation.
- A story idea — Even a single sentence works. “A lost robot searches for its creator in an abandoned city” is enough to start.
- Credits or API keys — AI generation costs money (models run on expensive GPUs). Filmaris offers credits, or you can bring your own API keys from providers like PiAPI or fal.ai to save up to 40%.
You do not need a camera, microphone, lighting, actors, locations, or any video editing experience.
Step 1: Write Your Script
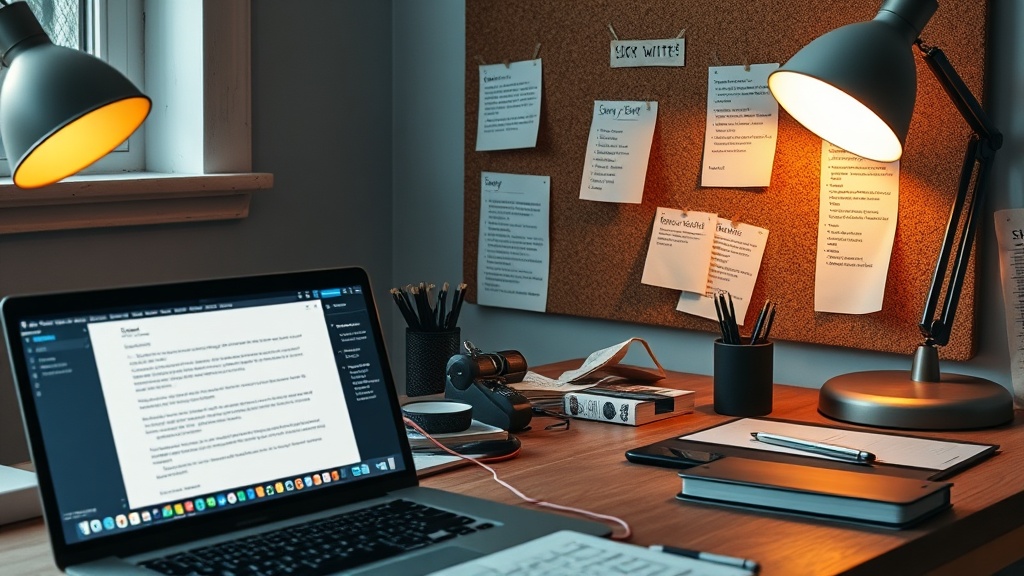
Every film starts with a script. In traditional film making, this means weeks of writing and revision. With AI, you have two options:
Option A: Let AI Write It
Filmaris includes a Script Generator that uses large language models (GPT-4.1, Claude Sonnet, Gemini) to write a structured film script from a brief synopsis. You provide:
- A 1–3 sentence concept (e.g., “A timelapse documentary showing Earth recovering from climate change over 1,000 years”)
- A style preset (cinematic, anime, documentary, noir, etc.)
- Target length (from 30 seconds to feature-length)
The AI outputs a fully structured script broken into scenes and clips, each with detailed visual prompts, camera directions, and audio cues. This structure maps directly onto the editor’s timeline.
Option B: Write Your Own
If you prefer creative control, write your own script and build it manually in the editor. The Filmaris editor uses a tree structure: Movie → Scenes → Clips. You create each level, write prompts for the visuals and audio, and generate them one by one.
For beginners, Option A is faster. For experienced storytellers who want precise control, Option B gives you full authority over every frame.
Step 2: Plan Your Visuals
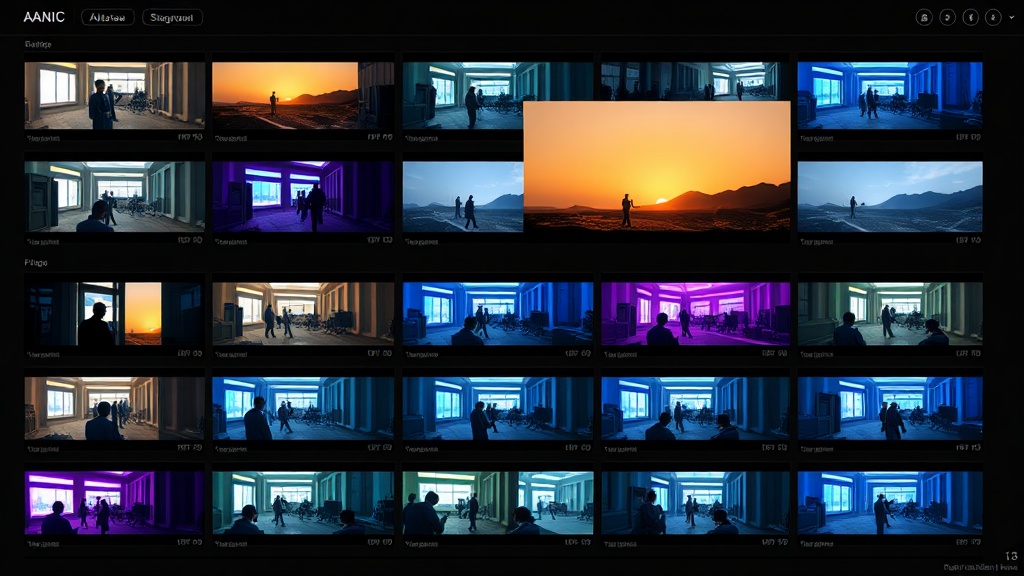
Before generating anything, think about the visual style of your film. This is where AI film making differs most from traditional production. Instead of scouting locations and hiring a cinematographer, you are choosing AI models and writing prompts.
Choosing Your Models
Different AI models have different strengths. Here is a quick comparison of popular video models available in Filmaris:
| Model | Best For | Max Length | Cost |
|---|---|---|---|
| Kling 2.1 Pro | Cinematic realism, complex motion | 10s | ~$0.28 |
| Hunyuan | Fast iteration, good quality/cost ratio | 5s | $0.03–$0.15 |
| Hailuo I2V-01-Live | Image-to-video, consistent characters | 6s | ~$0.10 |
| Wan 2.1 | Artistic styles, creative shots | 5s | ~$0.14 |
| LTX Video | Budget-friendly drafts | 5s | ~$0.05 |
For a first project, start with a mid-range model like Hunyuan or Wan 2.1. They offer good quality without burning through your credits. You can always re-generate key scenes with a premium model later.
Check the full model comparison page for all 50+ available models with specs and pricing.
Writing Good Prompts
The quality of your AI film depends heavily on your prompts. Here are practical tips:
- Be specific about camera work — “Close-up of a hand opening a letter” beats “someone reads a letter.”
- Include lighting and mood — “Golden hour, warm tones, long shadows” gives the model clear direction.
- Mention movement — “Slow dolly push-in” or “handheld following the character” adds cinematic quality.
- Reference real styles — “Shot on 35mm film, Wes Anderson color palette” communicates a lot in few words.
- Keep it under 200 words — Models work best with focused, clear prompts. Over-describing can confuse them.
Step 3: Choose Your Audio Strategy
Audio is half the film. A weak soundtrack or missing sound design will undermine even beautiful visuals. Filmaris supports three types of AI audio:
Voice & Narration
Use ElevenLabs for high-quality text-to-speech. You can choose from dozens of voices, adjust pacing and emotion, and even clone a voice from a sample. Narration costs roughly $0.15–$0.30 per minute of audio.
Music
AI music models can generate background scores in any genre. Specify the mood (“tense orchestral, building to climax”) and length, and the model produces a royalty-free track. ACE-Step is the most affordable option at ~$0.0005 per second.
Sound Effects
Layer in ambient sounds, footsteps, door creaks, explosions—whatever your scenes need. These are generated as short audio clips and placed on the timeline alongside your video elements.
A common beginner mistake is generating visuals first and adding audio as an afterthought. Plan your audio alongside your visuals from the start. A scene with rain should have rain sounds. A dialogue scene needs voice generation planned for the right timing.
Step 4: Generate and Assemble
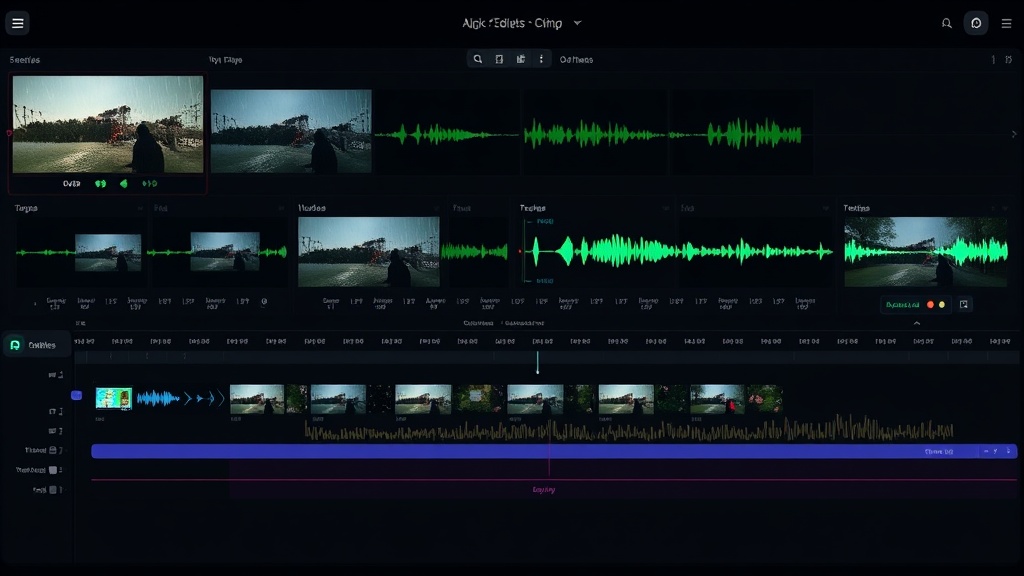
Now comes the exciting part. Open your project in the Filmaris editor and start generating.
The Generation Workflow
- Generate scene by scene — Start from the beginning of your film. Generate the video for Scene 1, Clip 1. Review it. If it looks good, move to the next clip. If not, tweak the prompt and regenerate.
- Use version history — Every prompt keeps a version history. You can compare different generations and pick the best one without losing earlier attempts.
- Layer your elements — Each clip can have multiple layers: a video base, an overlay image, a voice track, background music, and sound effects. Use the compositing stack to arrange them with the right opacity, volume, and timing.
- Add transitions — The timeline supports 7 transition types (fade, dissolve, wipe, slide, zoom, blur, flash). Place them between clips to smooth the flow.
Cost Management Tips
AI generation adds up. Here is how to keep costs manageable:
- Draft first, polish later — Use cheaper models (Hunyuan Fast at $0.03, LTX at $0.05) for initial drafts. Once you have the timing and structure right, regenerate hero shots with premium models.
- Use BYOK — Bring Your Own API Key to pay providers directly and skip the platform markup. Saves ~40% on every generation.
- Check cost estimates — Filmaris shows you the exact cost before generating. Use the batch cost estimate feature to preview the total cost of generating an entire scene.
- Reuse assets — The Asset Panel lets you access media from parent scenes. A background music track generated once can be reused across multiple clips.
Step 5: Edit and Refine
With all your media generated, it is time to edit. This is where AI film making meets traditional craft.
Timeline Editing
The Filmaris timeline works like a traditional NLE (non-linear editor). You can:
- Trim clips — Drag the edges to cut unwanted frames from the start or end.
- Reorder scenes — Drag and drop clips in the timeline or restructure the scene tree.
- Adjust audio — Set volume levels per element so dialogue sits above background music.
- Transform elements — Scale, position, and set opacity for layered elements.
The Preview
The built-in browser preview (powered by Remotion) plays your film in real time. Scrub through the timeline, check transitions, verify audio sync. What you see in the preview is what you get in the final export.
Undo Everything
Filmaris has full undo/redo support (Ctrl+Z / Ctrl+Y) with a 50-step history. Experiment freely—you can always go back.
Step 6: Export and Share
When your film is ready, export it. Filmaris renders your film using cloud-based Remotion Lambda—your browser does not do the heavy lifting, so you can export long films without worrying about your computer’s specs.
If you want to continue editing in a professional NLE, Filmaris supports FCPXML+ZIP export. This lets you open your AI film in DaVinci Resolve, Final Cut Pro, or Adobe Premiere Pro with all your clips, layers, and timing intact.
Where to Share
- YouTube — Upload directly. AI films regularly get views in the tens of thousands.
- Social media — Short clips (under 60 seconds) work great on Instagram Reels, TikTok, and X.
- Film festivals — Yes, AI films are being accepted at festivals. The AI Film Festival and others specifically showcase AI-generated work.
- Portfolio — Use your AI films to demonstrate creative direction skills, even if you cannot shoot traditional footage.
What AI Film Making Costs in 2026
Here is a realistic cost breakdown for a 2-minute AI short film:
| Component | Quantity | Estimated Cost |
|---|---|---|
| Script generation (LLM) | 1 script | $0.05–$0.15 |
| Video clips (mid-range model) | 12–20 clips | $1.50–$3.00 |
| Voiceover (ElevenLabs) | 2 minutes | $0.30–$0.60 |
| Background music | 1 track | $0.05–$0.15 |
| Sound effects | 5–10 clips | $0.10–$0.30 |
| Total | $2.00–$4.20 |
Compare that to traditional production: even a bare-bones indie short film costs hundreds to thousands of dollars in equipment rental, location fees, and post-production. AI film making is 50–100x cheaper.
With BYOK keys, you can reduce costs by another 40%. And the free tier gives you enough credits to experiment before spending anything.
Common Beginner Mistakes
After helping hundreds of creators make their first AI films, here are the mistakes we see most often:
- Generating everything at maximum quality first — Draft with cheap models, polish with expensive ones. You will regenerate most clips at least once anyway.
- Ignoring audio — A film with great visuals and no sound design feels empty. Plan audio from the start.
- Writing vague prompts — “A beautiful scene” gives the model nothing to work with. Be specific about framing, lighting, movement, and mood.
- Making it too long — Start with 30–60 seconds. Master short form before attempting a 10-minute film.
- Not using the structure tree — Organize your film into scenes and clips from the start. A flat timeline gets unmanageable fast.
What’s Next?
AI film making is evolving fast. Character consistency across scenes, real-time generation, and AI-driven editing suggestions are all on the near horizon. The creators who start learning now will have a massive head start.
Ready to make your first AI film? Start with the free Generator Wizard—write a concept, pick a style, and let AI handle the production. Or explore the AI Film Editor to build your film from scratch with full creative control.
For more guides, check out:
- Best AI Video Generators 2026 — detailed model comparison
- How to Create a Movie with AI — step-by-step tutorial
- AI Video Editing: Beginner’s Guide — editor-focused walkthrough
- All AI Models — browse 50+ models with specs and pricing
- Style Presets — 12 ready-made visual styles
Frequently Asked Questions
How much does AI film making cost?
Costs vary by model and film length. A 1-minute film with standard models costs $2–5 in credits. Free users get 50 image and audio generations per month. BYOK users pay provider rates directly and save up to 40%.
Do I need a powerful computer for AI film making?
No. Filmaris runs entirely in your browser — all AI generation happens on cloud GPUs. Any modern browser on a laptop, desktop, or even tablet is sufficient. Video rendering uses AWS Lambda, not your local machine.
Can I use AI-generated films commercially?
Yes. You own the output generated through Filmaris. Paid plan exports include no watermark. You can use your films for YouTube, social media, client projects, or film festival submissions.
What is the best AI model for beginners?
Start with Hunyuan Fast ($0.03/clip) for affordable experimentation. Once comfortable, try Kling 2.6 Standard ($0.20/clip) for higher quality. For images, FLUX Schnell is fast and affordable at $0.015 per image.